
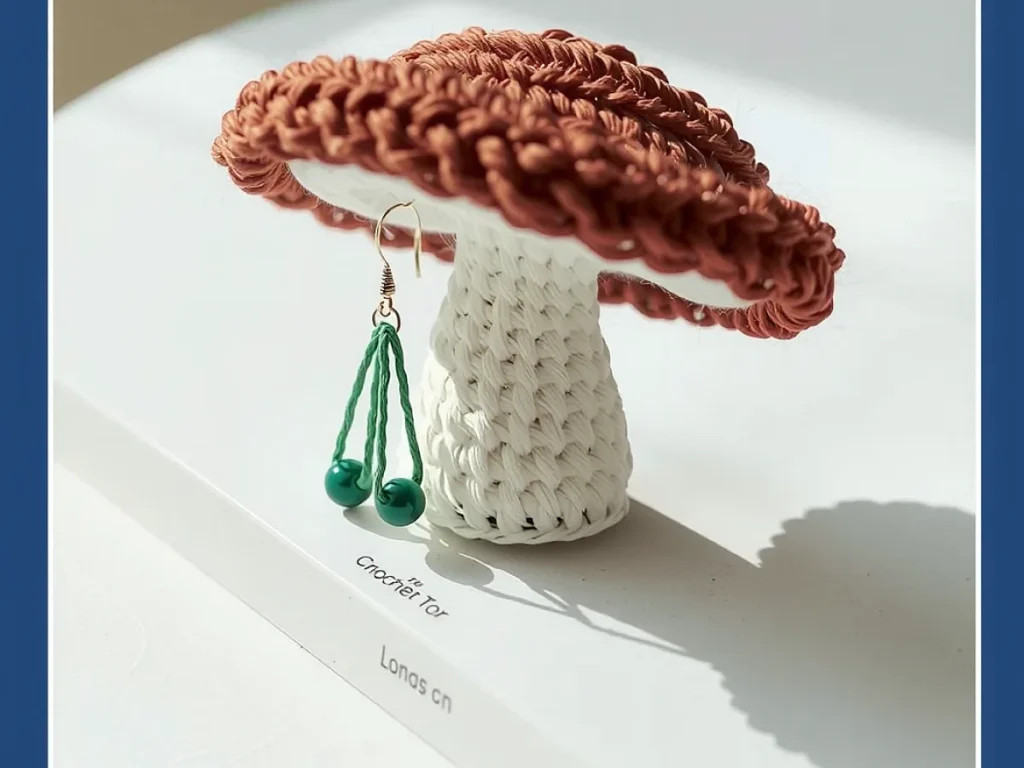
Crocheted mushroom jewelry organizer
Make a whimsical, functional holder for earrings and rings
A crocheted mushroom cap with loops keeps your jewelry tidy and visible.
Tired of losing earrings in drawers? This mushroom organizer hangs them where you can see them. The loops under the cap fit most earring backs.
It's quick to make with basic stitches. Choose bright yarn to spot it easily on your dresser.
This pattern makes a small mushroom with loops on its underside for hanging earrings. It works with scrap yarn and takes about two hours. The stem holds rings securely.
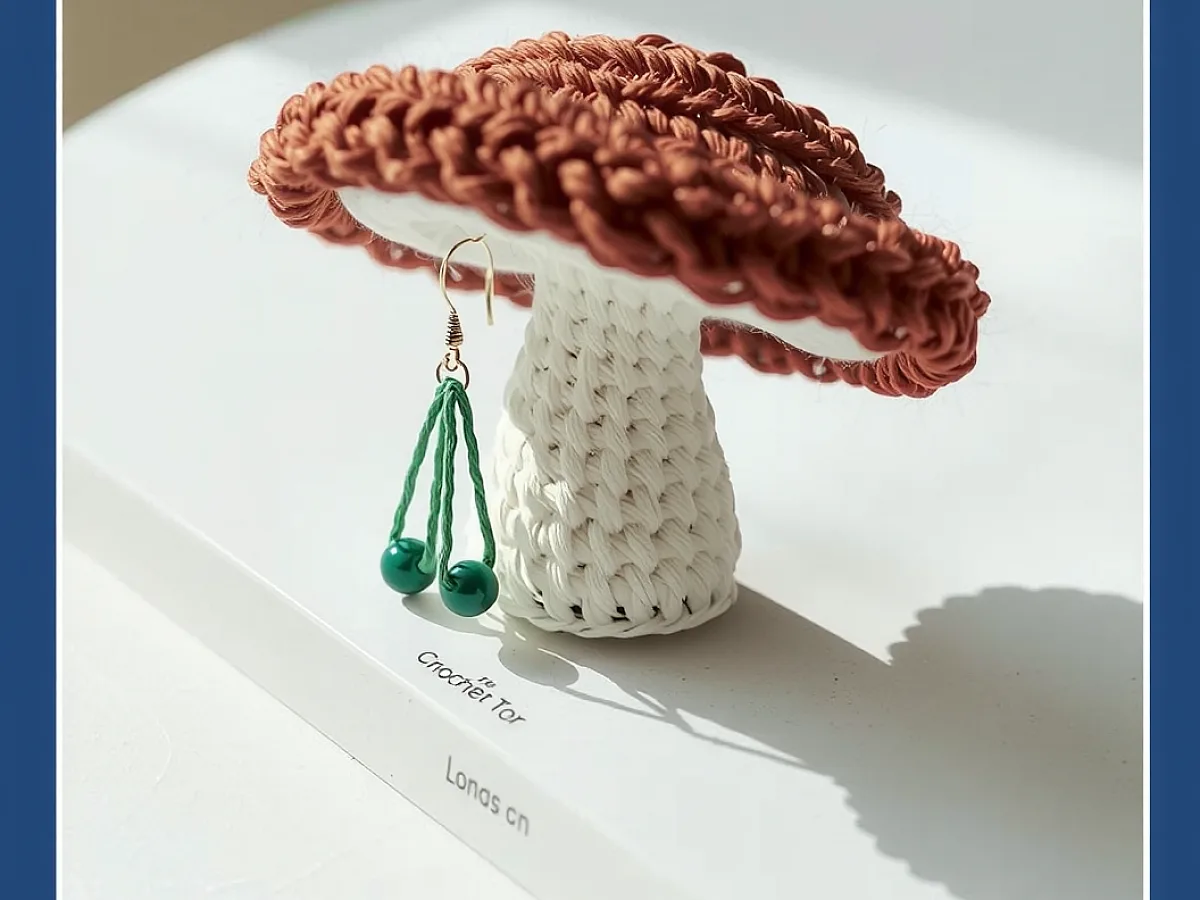
What you need
Medium weight yarn
About 50g. Cotton blends hold shape well.
4mm hook
Or size to match your yarn.
Fiberfill
A handful for the stem.
Yarn needle
For weaving in ends.
What you'll need
Gather these before starting. The mushroom takes little yarn, so leftovers work well.
Making the cap
The wide top gives space for loops. Work in rounds, increasing evenly to keep it flat.
If the edges curl, add a few more increase rounds. A 15cm diameter holds six to eight earrings comfortably.
Mark the first stitch of each round with a scrap of yarn to track your progress.
Adding the loops
Chain 8 stitches for each loop, then slip stitch back to the cap. Space them evenly.
Make loops slightly loose so earring backs slide in easily. Three to five loops fit well.
The stem
A firm stem keeps the mushroom upright. Stuff it lightly so rings stay put but don't stretch the yarn.
Step
Start the cap
Make a magic ring, then 6 sc into it. Tighten gently.
Increase rounds
Work 2 sc in each stitch for round 2. For round 3, alternate 1 sc and 2 sc. Continue increasing until the cap measures 15cm across.
Make loops
Flip the cap upside down. Attach yarn, chain 8, then slip stitch back to the cap 1cm away from the start. Repeat every 3cm.
Crochet the stem
Chain 4, join to form a ring. Sc in each stitch around for 10 rounds. Stuff lightly as you go.
Attach stem to cap
Line up the stem with the center of the cap's underside. Whip stitch through both layers with yarn needle.
Ways to change it
Bigger cap
Use thicker yarn and a 5mm hook for larger earring storage.
Felt base
Glue a felt circle underneath to prevent sliding on wood surfaces.
Color bands
Switch yarn colors every two rounds for a striped stem.
The short version
- The cap needs consistent increases to stay flat.
- Loops should be loose enough for earring backs but not saggy.
- A lightly stuffed stem holds rings without bulging.
- Whip stitching secures the stem better than single crochet joins.
Questions people ask
Can I use thin yarn?
Thin yarn makes floppy loops. Double-strand it or choose a lighter weight jewelry.
How do I clean it?
Hand wash gently in cool water. Reshape while damp to keep the loops even.
Try your own mushroom today
This little organizer saves time and keeps favorites within reach. Happy hooking!



