
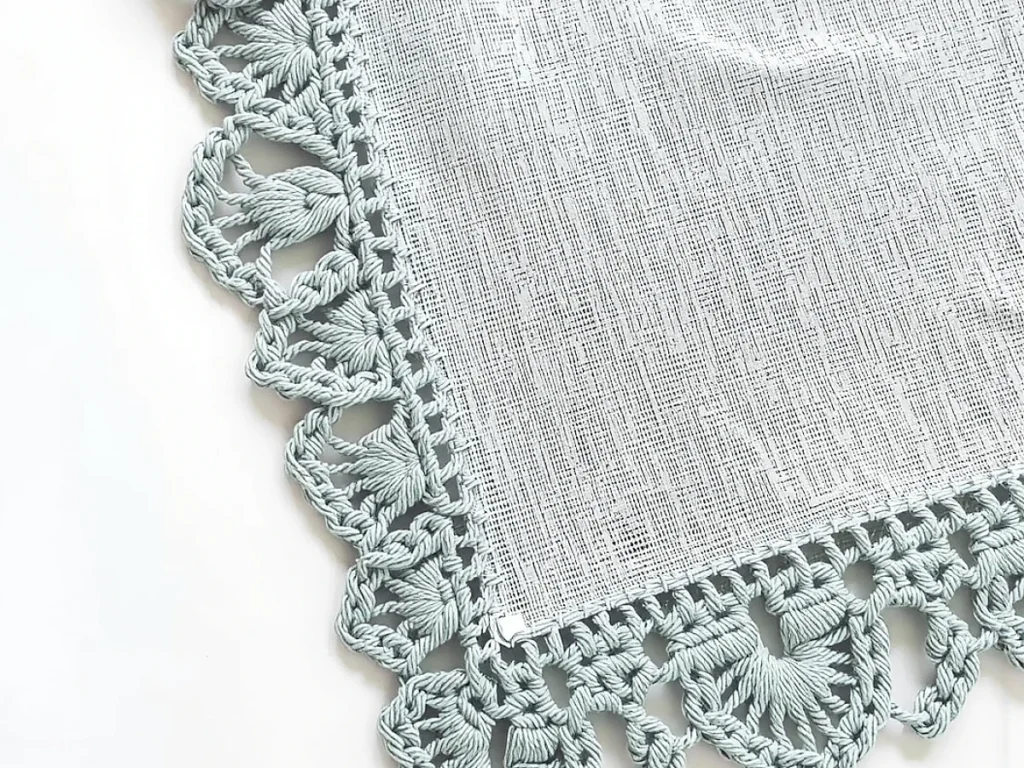
Perfect Crochet Edges: A Calm Guide to Neat Sides
Learn to crochet straight, even edges without counting every stitch.
Nothing ruins a cozy blanket faster than wavy, uneven edges.
You finish a row, turn your work, and there it is: a side that dips in or bulges out. It happens to everyone. The good news is that you can fix it with a few simple habits.
This guide covers the three most common edge problems, how to avoid them, and what to do when they have already happened. You will not need to count every stitch, just to know what your edge should look like.
Perfect crochet edges come from consistent turning chains, correct stitch placement, and a steady tension. This guide shows you how to get them every time.
What you need
Yarn
Any weight works. For practice, use a smooth worsted weight yarn in a light color so you can see your stitches.
Crochet hook
Use the size recommended on the yarn label. A hook with a comfortable grip helps keep tension even.
Stitch markers
A few locking markers help you find the first and last stitches of each row.
Scissors
For cutting yarn. Any small scissors work.
Why do crochet edges get wavy?
Most edge problems come from two places: the turning chain and the last stitch of the row. If you skip the last stitch, you lose a stitch and the edge pulls in. If you work into the turning chain from the row below, you add a stitch and the edge flares out.
Your tension also matters. If you crochet tightly, your edges will pull in. If you crochet loosely, they will wave. The fix is to keep the same tension from the first stitch to the last.
Lay your work flat every few rows. If the edge curves, you will see it before it becomes a big problem.
Which turning chain should you use?
The turning chain is the extra chain you make at the start of a row to bring your hook up to the height of the next stitch. The right number depends on the stitch you are using.
For single crochet, use 1 chain. For half double crochet, use 2. For double crochet, use 3. For treble crochet, use 4. These numbers work for most yarns and hooks, but your gauge may change them.
If your edges look tight, try going up one hook size for the turning chain only. If they look loose, go down one size.
Where should you put the last stitch?
The last stitch of the row is the one that goes into the top of the turning chain from the row below. Many patterns tell you to work into the top of that chain, but that can leave a gap or a bump.
A cleaner method is to work into the space between the last real stitch and the turning chain. This fills the gap and makes the edge look like a solid line of stitches.
For the first row, work into the foundation chain. For later rows, mark the last stitch with a stitch marker so you do not miss it.
What can you do about a wavy edge that is already there?
If your edge is wavy, you can block it. Wet blocking relaxes the yarn and lets you pin the edge straight. Steam blocking works too, but be careful with acrylic yarn, which can melt.
For a wavy edge that is too loose, you can work a single crochet border around the whole piece, using a smaller hook. This pulls the edge in and makes it look neat.
Blocking works best on natural fibers like wool and cotton. Acrylic may not hold a block well, but a border can still help.
How do you keep edges even when working in the round?
When you work in the round, you do not turn, so the edge is the top of the last round. To keep it even, make sure you join with a slip stitch into the first stitch of the round, not into the turning chain.
Some patterns use a continuous spiral instead of joining. In that case, mark the first stitch of each round with a marker. This keeps your stitch count correct and your edge smooth.
Use a locking stitch marker that clips onto the stitch, not a plastic ring that can slide off.
What about edges that curl?
Curling happens when the stitch pattern is tighter on one side than the other. Single crochet curls a lot, while double crochet lies flatter. The easiest fix is to add a border of single crochet around the edge.
Another cause is using a hook that is too small for the yarn. Check the yarn label for the recommended hook size. If your edge still curls, go up a hook size and try again.
For a scarf that curls, work a few rows of double crochet at the ends to help it lie flat.
Step
Make a practice square
Chain 20 stitches. Work one row of double crochet. This gives you a simple piece to test your edges.
Check your turning chain
At the end of each row, chain 3 for double crochet. Turn your work. This chain counts as the first stitch of the new row.
Find the last stitch
When you reach the end of the row, work the last double crochet into the top of the turning chain from the row below. If you are not sure, mark it with a stitch marker.
Compare your edges
After five rows, lay your square flat. The sides should be straight. If they curve in or out, adjust your tension or your stitch placement.
Block or border
If your edges are still uneven, wet block the square or add a single crochet border. This will smooth out the sides.
Ways to change it
Different stitch height
Try single crochet with a 1-chain turning chain, or treble crochet with a 4-chain turning chain. Adjust the turning chain to match the stitch.
Yarn substitution
If your edges are too tight, switch to a lighter weight yarn or a larger hook. If they are too loose, use a heavier yarn or a smaller hook.
Working in the round
For a hat or a bag, use the same principles: mark your first stitch and keep your stitch count consistent.
Adding a border
A single crochet border can fix wavy edges and give a finished look. Work one round of single crochet around the whole piece, with 3 stitches in each corner.
The short version
- Use the correct turning chain for your stitch: 1 for single, 2 for half double, 3 for double, 4 for treble.
- Work the last stitch of the row into the top of the turning chain to keep the edge straight.
- Keep your tension even by holding the yarn the same way throughout the project.
- Blocking can fix wavy edges on natural fibers like wool and cotton.
- A single crochet border can pull in a loose edge and make it look neat.
- Mark the first and last stitches of each row to avoid losing or adding stitches.
Questions people ask
Why is my crochet edge curling?
Curling usually happens when the stitch pattern is tighter on one side, like single crochet. Try adding a border of single crochet, or use a larger hook.
How do I stop my crochet from getting wider?
If your piece is getting wider, you are probably adding extra stitches. Count your stitches at the end of each row, or use stitch markers to keep track.
What is the best turning chain for double crochet?
For double crochet, use a chain of 3. This makes the edge the same height as the stitch. If your edge looks tight, try a chain of 2 or 4.
Try these tips on your next project
Even edges come from small habits: the right turning chain, the right stitch placement, and a steady tension. With a little practice, your sides will be straight and your corners square. Stitch with ease.



