Crochet Chart Archive Print Design: How to Print Vintage Filet Crochet Charts
Turn a scanned filet crochet chart into a clean printed page you can actually read while you work.
A scanned filet crochet chart from an old book is usually too small, too grey, or split across two pages to read while you crochet.
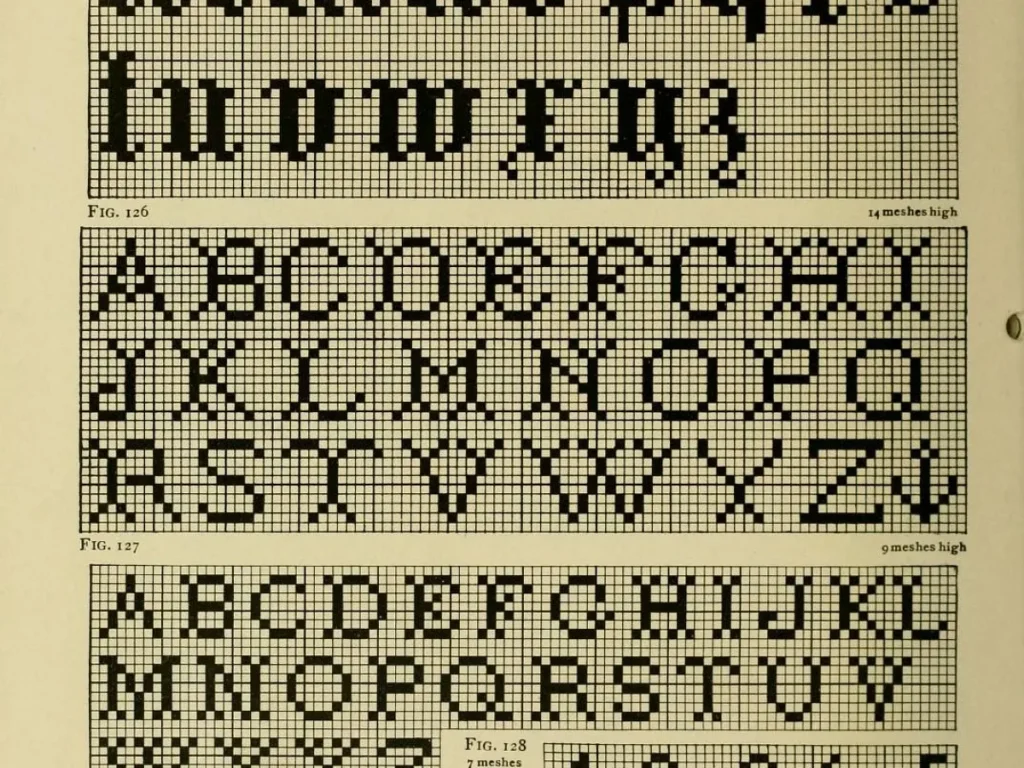
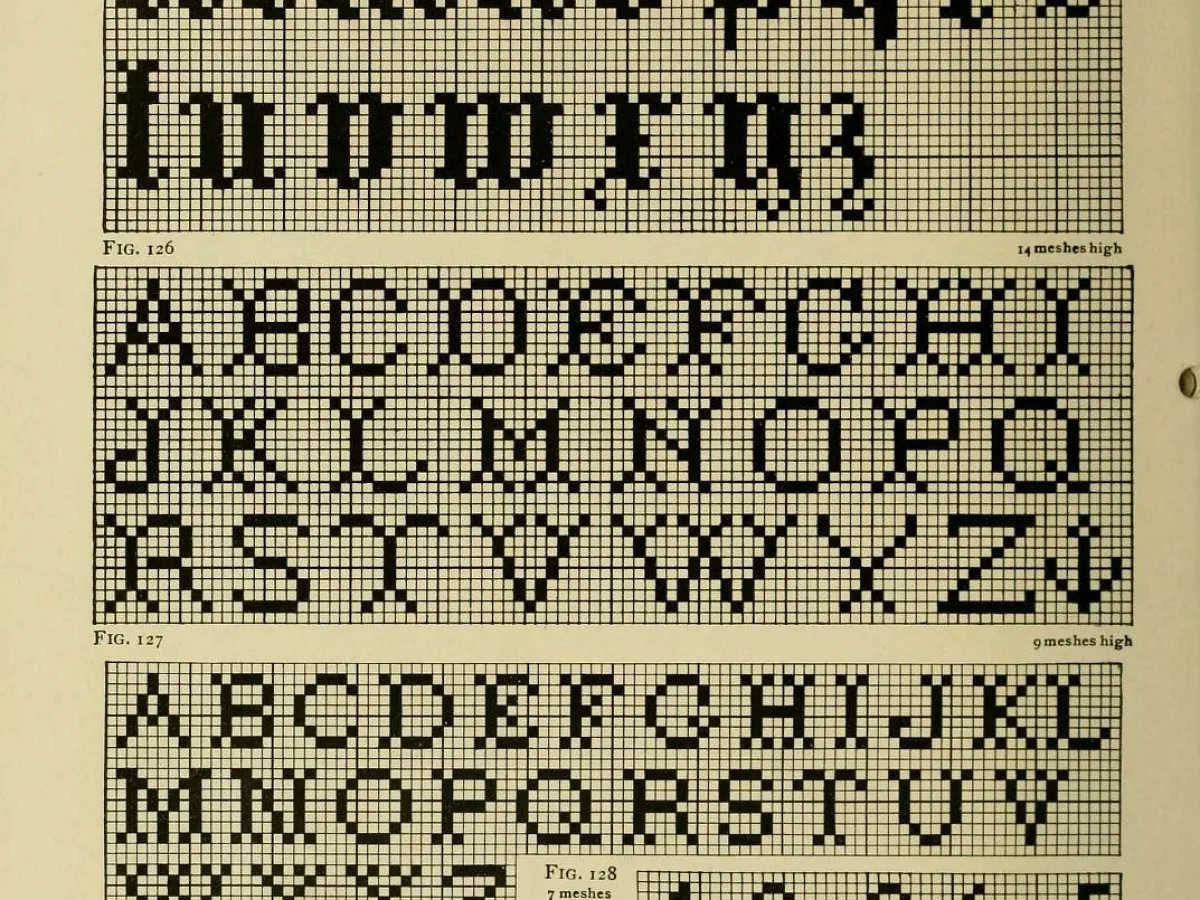
Old pattern books like The Priscilla Filet Crochet Book No. 1 were printed small and cheap. The grids survive, but the squares blur together after eighty years of paper and scanning.
Printing the scan straight from the screen gives you a grey mess. Rebuilding the chart takes a little longer and gives you something you can follow for a whole evening without squinting.
Crochet chart archive print design means taking a public domain chart scan and rebuilding it as a printable page: cleaned grid, readable symbols, correct scale, and enough margin to sit beside you. You do not need design software. A free editor, a printer, and about twenty minutes will do it.
What you need
Chart source
A public domain scan or an old pattern book page. Check the copyright date before you reprint anything.
Free image editor
Any editor that shows pixel size and lets you raise contrast. GIMP and Paint.NET both work.
Spreadsheet program
Used to rebuild the grid with even cells. Any free office suite has one.
Printer and paper
Plain 80 gsm paper is fine. Use 120 gsm if the page will sit on a stand and get handled a lot.
Size 10 cotton thread and 1.5 mm to 1.75 mm steel hook
Standard for filet doilies and panels. Switch to worsted weight and a 5 mm hook for larger pieces.
What a filet chart actually tells you
A filet chart is a grid of squares. A filled square means a block of double crochet, usually three dc worked into the row below. An open square means two chains and one double crochet, which leaves a hole.
That is the whole system. Read a row left to right on right side rows, right to left on wrong side rows, and the grid becomes a picture. Letters, borders, and monograms are built the same way.
- Filled square: 3 dc worked over the 3 stitches below
- Open square: ch 2, skip 2, dc in the next stitch
- Each square is one stitch group wide and one row tall
Count squares, not stitches, when you plan a piece. It is faster and the maths holds up.
Why the original scans are hard to print
Scanned archive pages come in as greyscale images, often at 72 to 150 dots per inch. A chart square might be four pixels wide. Print that at full page size and the edges turn soft and grey.
Many books also split a wide chart across two facing pages, with a gutter shadow down the middle. You get half an alphabet on each page and a dark stripe through the letter you need most.
Check the resolution before you start. If the scan is under 150 dpi, redraw the grid rather than enlarging the image.
Rebuild the grid instead of enlarging the scan
Open the scan in any free image editor and zoom in to 400 percent. Count the squares across the widest row and write the number down. Do the same for the rows top to bottom.
Now open a spreadsheet. Set every column width to the same value, say 30 pixels, and every row height to the same value. Fill cells black where the chart is solid and leave them white where it is open. Print preview at 100 percent and check the squares are actually square.
This sounds slow. It is not. A 40 by 40 chart takes about twenty minutes, and you end up with a file you can resize forever without losing sharpness.
- Spreadsheet cells give you perfect squares with no drawing skill needed
- Black fill prints clean on any home printer
- You can bold the grid lines in a darker grey so they stay visible
Keep one empty column between letters if you plan to crochet a name. Without it the letters run together.
Sizing the printed page to your yarn
The printed size of the chart has nothing to do with the finished size of your crochet. What matters is that you can read it. Aim for squares of at least 6 mm, or about a quarter inch, on paper.
For the crochet itself, filet is usually worked in size 10 cotton thread with a 1.5 mm to 1.75 mm steel hook. A typical gauge is 4 squares to the inch, or 16 squares to 4 inches, which means a 40 square wide chart finishes about 10 inches across.
Worsted weight yarn with a 5 mm hook makes much bigger squares. The same 40 square chart comes out around 26 inches wide. Neither is wrong. It depends on whether you want a doily or a blanket panel.
Work a sample of ten squares and measure it before you commit to a full panel. Ten minutes saves a week.
Layout choices that make a chart usable
Print one chart per page if it fits. If it does not, split it into two halves with an overlap of at least two squares and mark the overlap clearly on both pages.
Add a row of numbers along the bottom and letters down the side. Without them you lose your place every few rows. Number in multiples of five so the eye can jump.
Leave a wide margin on the left if you use a binder. A two centimetre margin stops the holes punching through your row numbers.
- Row numbers along the bottom edge
- Column letters down the left edge
- Two square overlap when a chart must be split
- Wide left margin for punching or binding
Print a test page in draft quality first. It uses less ink and shows you the real size before you commit.
What goes wrong and how to fix it
Grey squares are the most common problem. The scan was low contrast, so the filled blocks came out mid grey and the open blocks came out light grey. Raise the contrast hard, or redraw the grid and skip the scan entirely.
Squares that are not square are the second problem. This happens when you stretch an image to fit the page. Lock the aspect ratio, or rebuild in a spreadsheet where the cells cannot distort.
The third problem is a chart that is technically correct and still unreadable, because the grid lines are as dark as the filled squares. Set grid lines to a light grey and the solid blocks to pure black. The pattern pops out.
If you cannot tell a filled square from an open one at arm's length, the print is not finished.
Working from the printed chart
Tape the page to a board or clip it to a stand at eye level. Flat on the table means you look down and lose your place every row.
Use a ruler or a strip of card to cover the rows below the one you are working. Slide it down as you go. It is the cheapest row tracker there is.
Mark off finished rows with a pencil tick. Pencil rubs out, so the page stays reusable.
If the chart is for a gift, print two copies. One to mark up, one to keep clean.
Step
Count the grid
Zoom the scan to 400 percent and count squares across and down. Write both numbers down before you touch anything else.
Rebuild in a spreadsheet
Set equal column widths and row heights, then fill cells black for solid squares and leave the rest white. Check print preview shows square cells.
Add row and column markers
Number along the bottom in fives and letter down the side. This is what keeps your place while you crochet.
Print a draft
Print one page in draft quality and hold it at arm's length. If you cannot tell filled from open, darken the fill or lighten the grid lines.
Print the final copy
Print at full quality with a wide left margin, then tape or clip the page at eye level before you start row one.
Ways to change it
Enlarge for a blanket panel
Use worsted weight and a 5 mm hook. The same chart finishes several times wider.
Shrink for a bookmark
Size 20 or 30 thread with a 1.25 mm hook. Keeps the same chart, much smaller finished piece.
Colour the filled squares
Print in colour and shade the blocks in a light tone so you can see the shape at a glance.
Two page spread
For very wide alphabets, split with a two square overlap and mark the join on both pages.
Laminate the page
Wipe clean and reuse with a dry erase marker instead of pencil ticks.
The short version
- A filet chart is a grid where filled squares are blocks of double crochet and open squares are chain spaces.
- Scans below 150 dpi are usually better redrawn than enlarged.
- Spreadsheet cells give you perfect squares without any drawing skill.
- Print squares at 6 mm or larger to read the chart comfortably.
- Size 10 cotton with a 1.5 mm hook gives about 4 squares per inch.
- Number rows in fives and cover the rows below with a card to keep your place.
- Light grey grid lines and pure black fills are the difference between readable and not.
Questions people ask
Can I print a vintage crochet chart straight from the scan?
You can, but it usually comes out grey and soft. If the scan is under 150 dpi the squares blur together at full page size. Redrawing the grid in a spreadsheet takes about twenty minutes and prints clean.
What size should the squares be on paper?
Aim for 6 mm or about a quarter inch. Smaller than that and you lose your place. The printed size has nothing to do with the finished crochet size, so make it whatever your eyes can follow.
How do I know how big the finished piece will be?
Work ten squares in your chosen yarn and hook, then measure. In size 10 cotton with a 1.5 mm hook you get roughly 4 squares per inch, so a 40 square chart finishes about 10 inches wide.
Is it legal to reprint charts from old pattern books?
Books published before in the United States are generally in the public domain, which is why archive scans circulate. Check the publication date on the title page before you reprint or share anything.
Pick one chart from the archive and rebuild it this week
Start with a small alphabet chart. Count the grid, rebuild it in a spreadsheet, print one draft page, and hold it at arm's length. If you can read it from there, you are done.