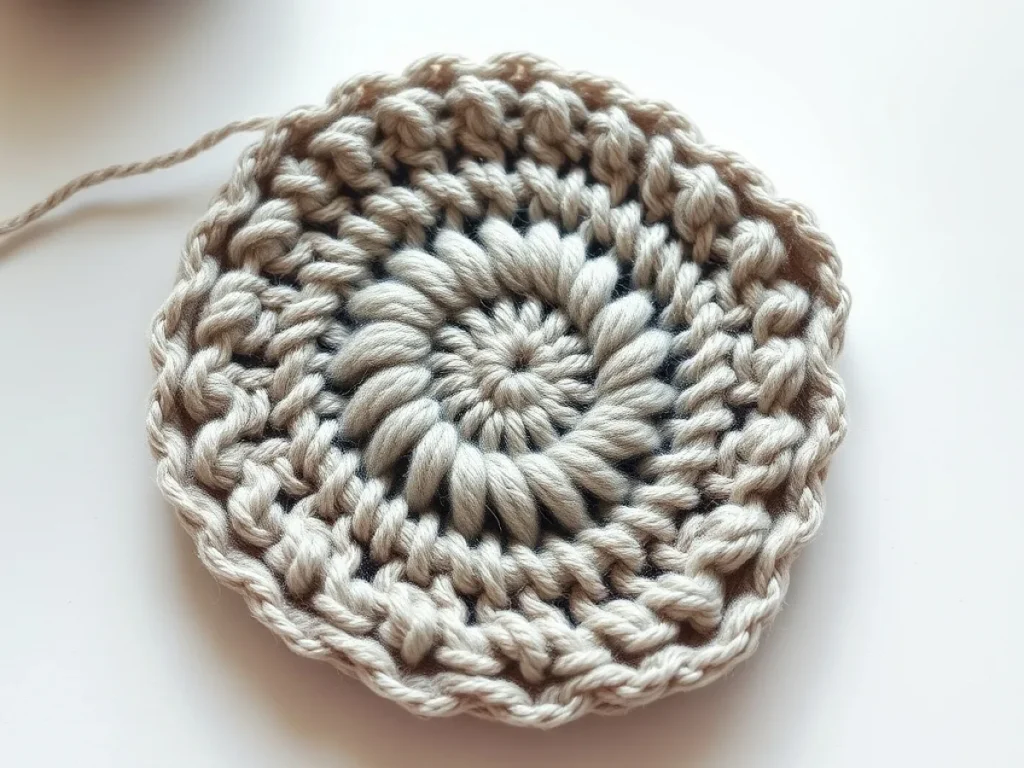
Crochet Weaving in Ends Technique: The Fast, Neat Way
Learn to weave in ends so they stay hidden and never pop out, even after washing.
You've finished the last stitch, but there's a tail staring at you—and if you just snip it, it'll work its way out in the wash.
Weaving in ends is the step everyone rushes, and it shows. A loose tail can unravel your work or poke out in an ugly loop. The fix is simple: weave the tail through the wrong side of your stitches, going back and forth in a zigzag, then cut.
You don't need special tools—just a yarn needle or a crochet hook. And you can do it as you go, saving yourself a boring session at the end.
Weaving in ends means threading the yarn tail through the backs of your stitches with a yarn needle or crochet hook, then trimming close. Done right, it takes about a minute per end and keeps your work secure.
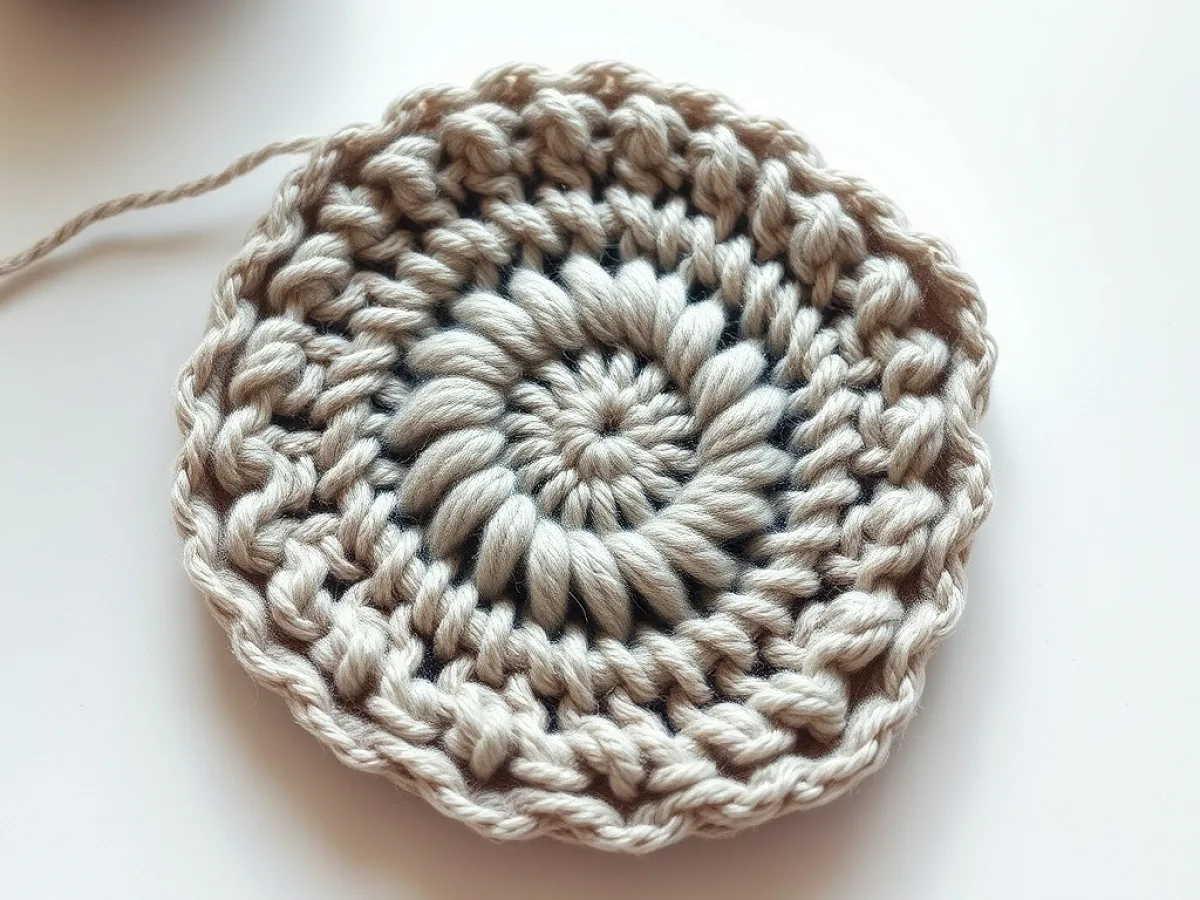
What You Need
Yarn needle
Blunt tip, with an eye large enough for your yarn. Costs a few dollars.
Scissors
Any sharp pair will do, but small embroidery scissors are easier to handle.
Crochet hook (optional)
Use one a size or two smaller than your project hook for weaving in tight spaces.
What You Need to Weave In Ends
Grab a yarn needle with an eye big enough for your yarn. A blunt-tip needle is best—it slips between stitches without splitting them. If you don't have one, a crochet hook one or two sizes smaller than your project works too.
You'll also need scissors. That's it. No special gadgets required.
- Yarn needle (blunt tip)
- Scissors
- Optional: crochet hook one size smaller
Use a needle with a bent tip for tight spots—it reaches into corners without straining your wrist.
Weave on the Wrong Side, Always
Flip your piece so the wrong side faces you. That's the side that won't show. Weaving there hides the yarn completely.
Thread the tail through the needle. Insert the needle into the bumps of your stitches, following the row. Go in one direction for about an inch, then double back, weaving in the opposite direction. This creates a secure hold.
Weave through the center of the stitches, not just the surface, so the yarn is sandwiched between layers.
The Zigzag Trick for Security
A straight line of weaving can still slip out. Instead, zigzag: after weaving one way, turn and weave back, crossing over your first pass. This locks the yarn in place.
For extra security, weave through the back loops only. This keeps the front of your work looking clean and neat.
If your yarn is slippery (like cotton or linen), weave an extra pass—three directions instead of two.
How to Weave In Ends with a Crochet Hook
No needle? Use a crochet hook. Insert the hook through the back of your stitches, catch the tail, and pull it through. Repeat this, moving along the row, until the tail is buried.
This works best for bulky yarns and when you need to weave as you go. It's faster than threading a needle.
When using a hook, work from the wrong side and pull the tail through the loops of the stitches, not the gaps.
Weaving In Ends as You Go
Don't wait until the end. When you change colors or join a new ball, weave in that tail right away. It's easier to reach and keeps your work tidy.
To weave as you go, lay the tail along the top of the row and crochet over it for a few stitches. Then, at the end, just trim the remaining bit.
Crocheting over the tail for 4-5 stitches is enough for most projects. For garments, still weave the tail back with a needle for extra strength.
Trimming the Tail: When and How
After weaving, pull the tail gently to make sure it's snug, then trim close to the fabric. Leave a tiny bit—about 1/4 inch—so it doesn't unravel.
Don't cut too short. If you cut right at the surface, the end can work its way out. A small tail is fine because it's hidden inside the weave.
Test your weave by tugging on the fabric. If you see the tail move, weave it again before trimming.
Common Mistakes and How to Fix Them
Weaving on the right side creates visible bumps. Always flip to the wrong side.
Weaving in a straight line lets the tail slip. Zigzag or go in two directions.
Trimming too close can cause the end to pop out. Leave a tiny bit.
If you're weaving on a tight stitch, use a smaller needle or hook to avoid splitting yarn.
If your tail keeps slipping out, it's because you didn't weave enough. Go back and weave an extra inch.
Steps
Thread your needle
Thread the yarn tail through the eye of your yarn needle. If you're using a crochet hook, skip to step 3.
Flip to the wrong side
Turn your work so the wrong side faces you. This is the side that won't show.
Weave through stitches
Insert the needle through the bumps of your stitches, following the row. Weave in one direction for about an inch.
Double back
Turn and weave back in the opposite direction, crossing your first pass. This locks the yarn.
Trim the tail
Pull gently to snug the weave, then trim close to the fabric, leaving a tiny bit.
Ways to Change It
Weave with a crochet hook
Faster than a needle and great for bulky yarns. Insert the hook through the back of stitches and pull the tail through.
Weave as you go
Lay the tail along the row and crochet over it for 4-5 stitches. Saves time at the end.
Weave in a zigzag
For extra security, weave in a zigzag pattern instead of a straight line. Best for slippery yarns.
Use a bent-tip needle
Easier to maneuver in tight spots like corners or when weaving into a finished piece.
Key Takeaways
- Always weave on the wrong side to keep the front clean.
- Weave in two directions to lock the yarn securely.
- Crochet over tails as you go to save time.
- Trim close but leave a tiny bit to prevent unraveling.
- Use a blunt-tip needle to avoid splitting yarn.
- Test your weave by tugging before trimming.
Questions People Ask
Why do my ends keep popping out?
You probably trimmed too close or didn't weave enough. Weave at least an inch in two directions and leave a small tail.
Can I weave in ends with just a crochet hook?
Yes, insert the hook through the back of your stitches and pull the tail through. Repeat along the row until the tail is buried.
Do I need to weave in ends if I crochet over them?
Crocheting over the tail is enough for small projects, but for items that get washed, it's safer to weave the tail back with a needle.
Now grab your hook and finish those ends
Weaving in ends doesn't have to be a chore. With a needle or hook, a few passes, and a careful trim, your projects will look professional and last for years. Keep it quick and cute!