
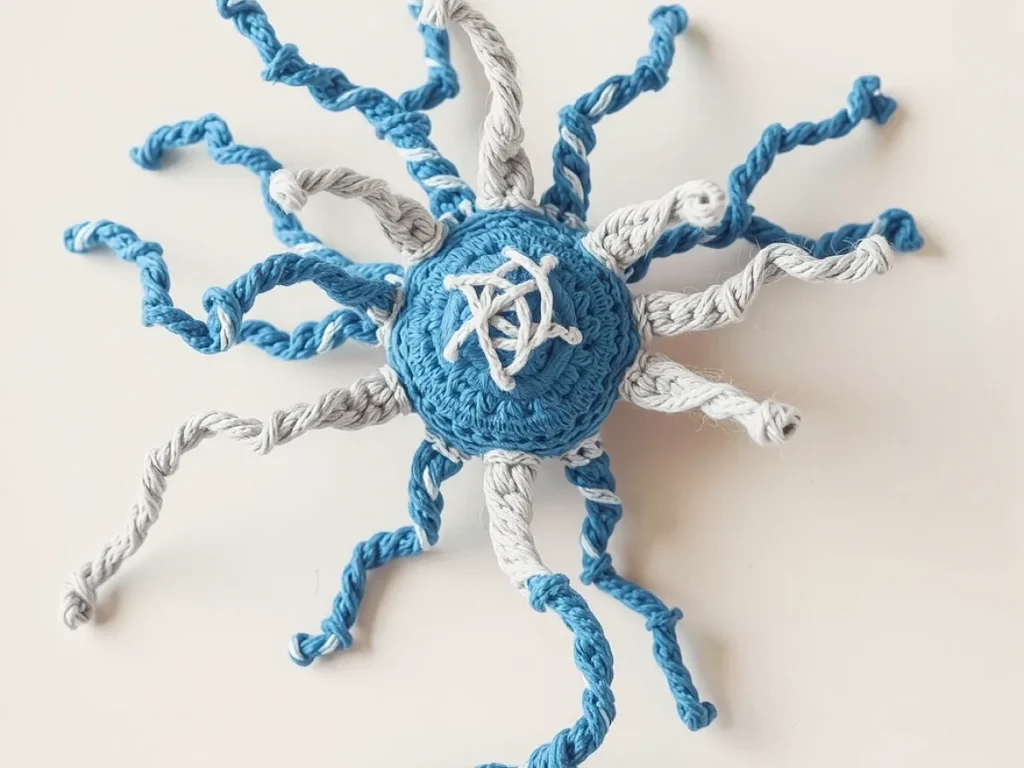
Crocheted neuron with dendrites and axon
Learn to crochet a realistic neuron, complete with dendrites and axon, in a few easy stitches.
The first time you see a crocheted neuron, you'll wonder how a tiny brain cell can be so colorful.
Crocheting a neuron lets you bring a piece of science into your craft room. It’s a fun way to learn about brain cells while making a decorative item.
The pattern is simple: start with the cell body, add dendrites, and finish with a long axon. Every section uses only a few stitches, so beginners can follow easily.
You’ll create a crocheted neuron in under an hour, using a medium weight yarn and a size G hook. The pattern stitches the cell body, dendrites, and axon in a neat, easy sequence.
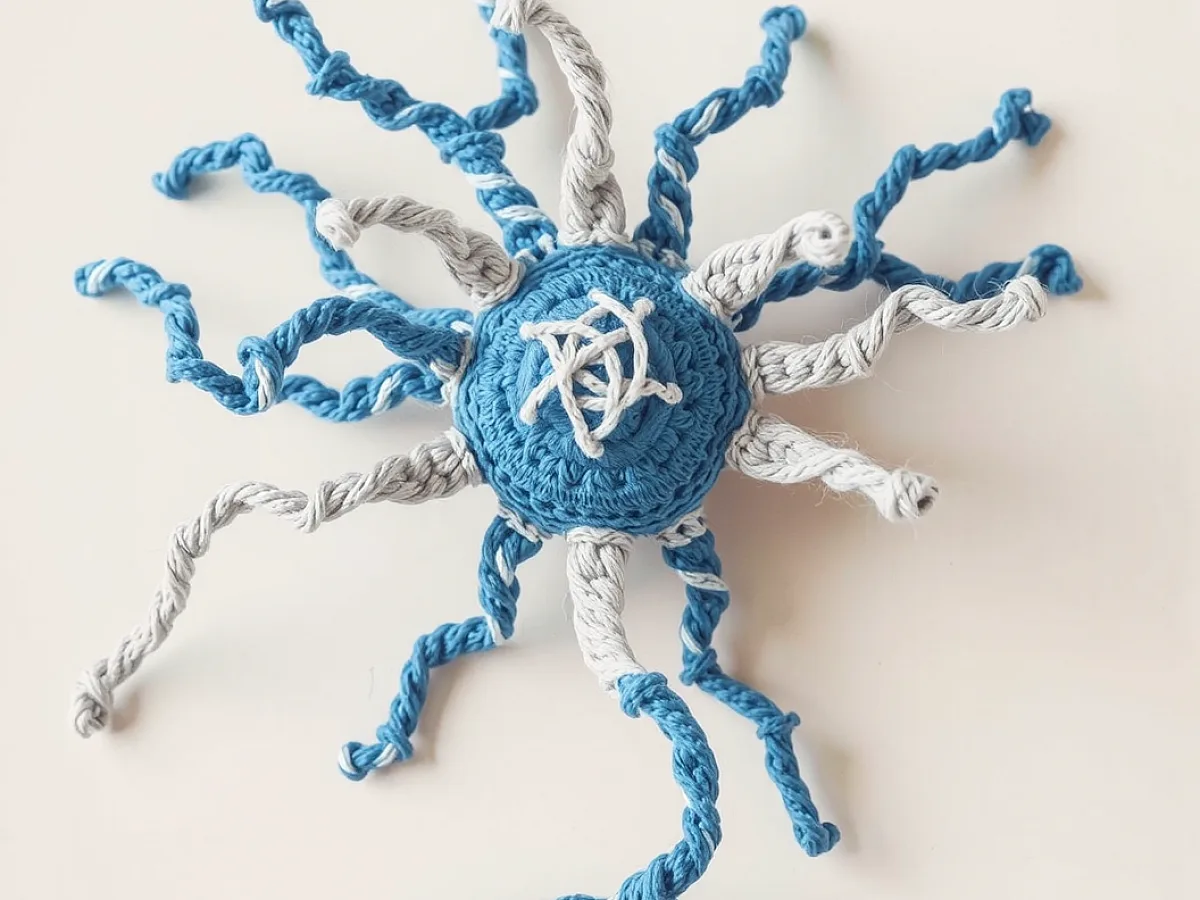
What you need
Medium weight yarn
Choose a light color for the cell body; a darker shade works well for the axon. Approximately 200 grams per piece.
Size G (4.0 mm) crochet hook
Standard size for medium weight yarn. If you have a larger hook, the finished neuron will be bigger.
Scissors & yarn needle
For trimming tails and weaving in ends.
Choosing the Right Materials
Use a medium weight (4) yarn in a light color for the cell body and a darker tone for the axon. A size G (4.0 mm) hook works well for most yarns.
If you prefer a softer feel, switch to worsted weight yarn and a size H hook; the finished piece will be slightly larger but still proportionate.
Keep the yarn tension even to avoid a lopsided body.
Starting the Cell Body
Begin with a small magic ring. Chain 4 and slip stitch to form a loop. Work 4 double crochets into the ring to create a tight foundation.
From here, increase one stitch per round for six rounds. This builds a rounded, sturdy sphere that will hold the dendrites.
Check that the top of the body is slightly wider than the bottom for a natural look.
Adding Dendrites
Attach a contrasting yarn for the dendrites. Slip stitch into the body and chain 2 to start a branch.
Work 3 single crochets into the chain, then increase one stitch every two stitches for the length of the branch. Repeat to create 4-6 branches.
When the branches reach the desired length, attach the axon yarn and continue.
Keep branches short and spaced evenly; they should look like little arms reaching out.
Crafting the Axon
With the axon yarn, chain 10 to start the shaft. Slip stitch into the last chain and work 1 double crochet in each chain for 15 stitches.
Add a small loop at the end by chaining 3 and turning the work. This represents the axon terminal.
Finish by weaving the tail into the body and tying a secure knot.
Use a lighter yarn for the axon to contrast the darker dendrites.
Finishing Touches
Trim all tails and weave them into the body to hide loose ends.
Block the piece by gently wetting it and laying it flat. This rounds out the shape and sets the stitches.
Blocking takes about 30 minutes; let the neuron dry completely before displaying.
Step
Create Magic Ring
Make a small ring with the yarn and hook, then chain 4 and slip stitch to start the body.
Build the Body
Work double crochets into the ring, increasing one stitch each round for six rounds to form a sphere.
Add Dendrites
Attach a contrasting yarn, chain 2, then work single crochets and increase every two stitches to form branches.
Craft the Axon
Chain 10 with the axon yarn, slip stitch into the last chain, then work double crochets for 15 stitches, finishing with a loop.
Finish and Block
Trim tails, weave in, and block the neuron by wetting, shaping, and letting it dry.
Ways to change it
Use different yarn colors
Pick a bright color for the body and a darker one for the axon to enhance contrast.
Try worsted weight yarn
A heavier yarn with a size H hook will give a larger, more robust neuron.
Add a small head
Add a tiny ball of yarn at the top to represent the nucleus.
The short version
- Medium weight yarn and a size G hook produce the best balance between detail and ease of use.
- The cell body forms in six rounds, which keeps the pattern short and beginner-friendly.
- Dendrites are created by chaining and increasing every two stitches, giving a natural branching look.
- The axon is a simple chain of double crochets with a loop at the end to mimic a terminal.
Questions people ask
Can I use any yarn color?
Yes, but using contrasting colors for the body and axon makes the structure clearer.
What if I want a larger neuron?
Use a heavier yarn and a larger hook; the same steps apply but the finished piece will be bigger.
How long does blocking take?
Blocking usually takes about 30 minutes; let the neuron dry completely before displaying.
Start crocheting your own neuron today
Now that you know the steps, grab your yarn and hook and begin creating a beautiful, science‑inspired neuron. Happy hooking!



