Embroidery Stitch Guide: 15 Stitches to Know
Learn 15 essential embroidery stitches with clear step-by-step instructions and tips for perfect results.
You don't need a dozen tools to start embroidering—just a needle, thread, and hoop will get you through your first five stitches today.
Embroidery is one of those crafts that looks complicated from the outside. But once you learn a few basic stitches, you can stitch almost anything—from a simple monogram to a detailed floral pattern.
In this guide, I'll walk you through 15 essential stitches, each with a clear explanation and a tip to make it easier. You'll have a sampler you're proud of by the end.
This guide shows you the 15 most useful embroidery stitches, from backstitch to French knots, with step-by-step instructions and tips to avoid common mistakes.
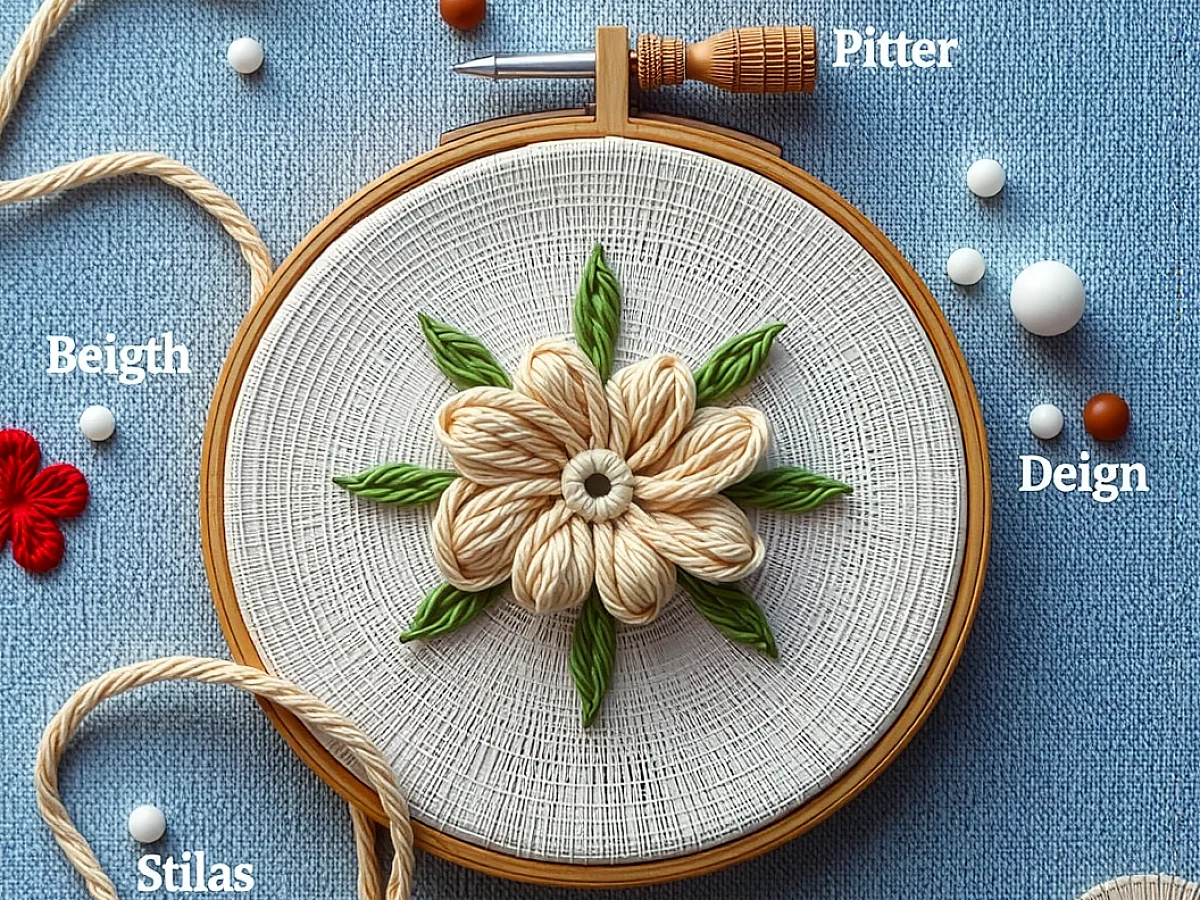
What you need
Embroidery hoop
A 6-inch wooden or plastic hoop works for most projects. It keeps fabric taut and costs about $5.
Fabric
Cotton or linen works well. A piece of quilting cotton is a good start.
Embroidery floss
Six-strand cotton floss. You'll need a few colors; start with a basic set.
Needles
A pack of embroidery needles in various sizes. Size 5 or 7 is a good all-purpose.
Scissors
Small, sharp embroidery scissors for snipping threads.
Water-soluble pen
For marking your design. It disappears with water.
The 4 Stitches You Need First
Start with these four. They're the building blocks for almost every other stitch.
Running stitch: the simplest. Bring the needle up and down in a straight line. Keep the stitches evenly spaced.
Backstitch: solid and continuous. Make a running stitch, then go back and fill the gaps. This creates a strong line for outlining.
Split stitch: a twisted line. Bring the needle up through the previous stitch, splitting the thread. Great for stems and outlines.
Satin stitch: fills shapes. Work parallel stitches side by side to cover an area. Keep them close and even.
Use a hoop to keep the fabric taut. It's hard to get even stitches on loose fabric.
How to Transfer a Pattern
You can draw directly on fabric with a water-soluble pen, or use a lightbox to trace. For dark fabric, use a white chalk pencil.
Make sure the design is centered before you start. A small mistake here gets magnified as you stitch.
The 5 Stitches That Add Texture
These stitches give your work dimension and interest.
Chain stitch: a linked series of loops. Bring the needle up, make a loop, and secure it with a small stitch. It's like crochet, but with a needle.
French knot: a tiny, round knot. Wrap the thread around the needle twice, then pull through. Practice on a scrap to get the tension right.
Lazy daisy: a petal shape. Make a loop and anchor it with a small stitch at the tip. Use it for flowers and leaves.
Feather stitch: a branching line. Make slanted loop stitches alternately left and right. Good for borders and branches.
Stem stitch: a twisted rope effect. Work backstitches at a slight angle, keeping the thread below the needle. Perfect for stems and vines.
For French knots, keep the thread taut but not too tight. If it's too tight, the knot disappears.
The 6 Stitches for Filling and Borders
These stitches fill space and create pretty edges.
Long and short stitch: a smooth fill. Alternate long and short stitches to blend colors. Use for shading.
Brick stitch: a brick-like pattern. Work rows of straight stitches, offsetting each row. Great for filling large areas.
Herringbone stitch: a crisscross border. Work diagonal stitches that cross over each other. Nice for edges.
Blanket stitch: a looped edge. Make vertical stitches with a loop along the edge. Use it to finish raw edges.
Coral stitch: a knotted line. Make a small knot at each stitch. It's a decorative outline.
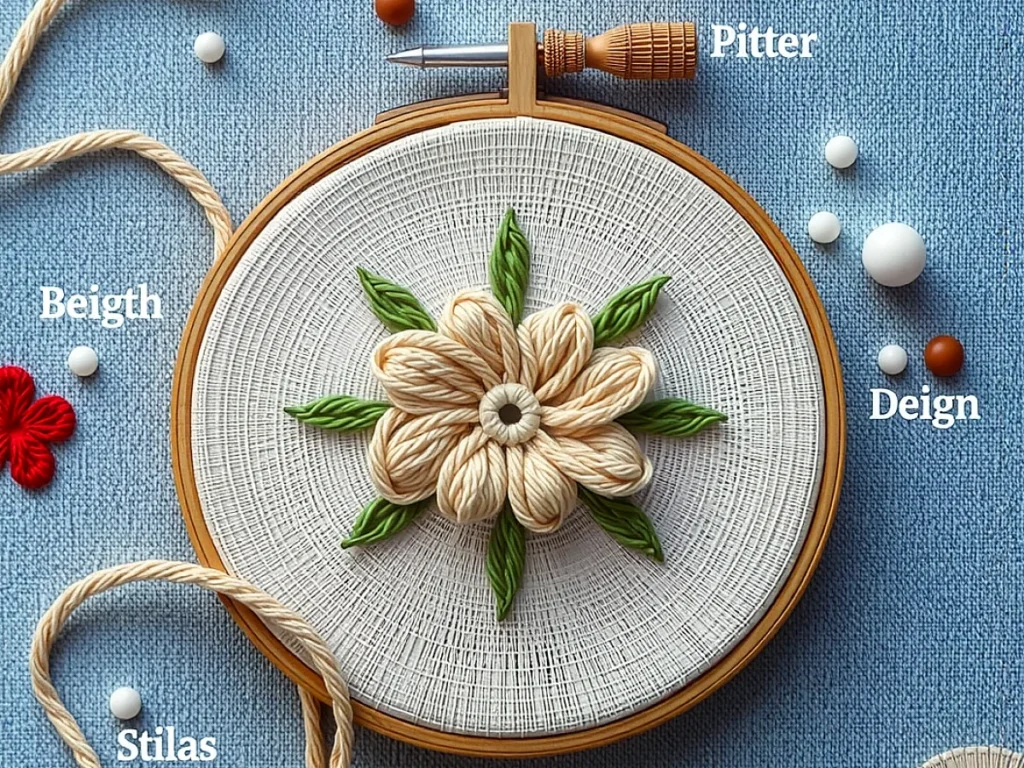
Woven wheel: a circular rose. Make a star of straight stitches, then weave the thread through them. Lovely for flowers.
For a smooth satin stitch, outline the shape with a backstitch first. It gives you a guide and raises the edge.
How to Finish Your Sampler
When you're done, remove the hoop and trim any loose threads. Wash the fabric gently if you used a water-soluble pen.
Iron the piece from the back, and you're ready to frame it or turn it into a pillow.
Step
Prepare your fabric
Cut a piece of fabric a few inches larger than your hoop. Place it in the hoop and pull taut.
Transfer your design
Trace or draw your design onto the fabric with a water-soluble pen. Center it well.
Thread your needle
Separate two strands of floss from the six. Thread the needle and tie a knot at the end.
Start stitching
Begin with the running stitch. Practice on a corner before starting your actual piece.
Work through the stitches
Try each stitch on a sampler. Use a separate piece of fabric to practice each one.
Finish and clean up
When done, remove the hoop, rinse the fabric to erase pen marks, and let it dry.
Ways to change it
Use different thread
Try perle cotton or metallic thread for a different sheen.
Add beads
Sew small beads onto your stitches for extra sparkle.
Use a different fabric
Try felt or denim for a sturdier project.
Make a patch
Stitch on a separate fabric and cut out the design to sew onto a jacket.
Go miniature
Use a smaller hoop and finer thread for tiny details.
The short version
- Running stitch is the simplest and a great starting point.
- Backstitch creates a strong, solid line for outlines.
- French knots require practice to get the tension right.
- Satin stitch works best when you outline the shape first.
- Keep fabric taut in a hoop for even stitches.
- Use two strands of floss for most stitches.
- Practice on a scrap before starting your real project.
Questions people ask
What is the easiest embroidery stitch for beginners?
The running stitch is the easiest. You simply weave the needle in and out of the fabric in a straight line. It's a great way to get comfortable with the motion.
How do I keep my fabric from puckering?
Make sure the fabric is taut in the hoop. Also, don't pull the thread too tight when you stitch. Relax your tension and the fabric will stay flat.
How many strands of floss should I use?
Most stitches use two strands. For a thicker line, use all six. For finer details, use one strand.
How do I finish the back of my embroidery?
Weave the thread through the back of the stitches to secure it, then trim. You can also apply a fabric glue or iron-on interfacing to keep it neat.
Start stitching your first sampler today
You've got the basics down. Pick up your hoop and try a few stitches on a practice piece. The more you stitch, the smoother they'll feel. Keep it quick and cute!

I focus on 30 minute crochet projects, easy amigurumi, and crochet coasters that are perfect for last-minute gifts or stress relief. My practical angle is showing how to turn basic stitches into cute, fast makes without overcomplicating the instructions.